How to share survey results
Updated November 6, 2026
This guide walks you through the two ways to share results in SurvIQ: a link, and inviting people by email. With the second one you decide what each person sees: everything, only their team, only a segment, or only the responses that carry their email. Nobody can change your survey.
The two ways to share
Open the survey results and tap Share, at the top right. You will see two tabs:
- Link: you create a link and send it to whoever you want. Everyone who opens it sees the same thing. Use it to send results to a group without typing emails.
- People: you invite each person by email and choose what they see. Use it when each manager, location or client should only see their own part, or when you want to know who opened it.
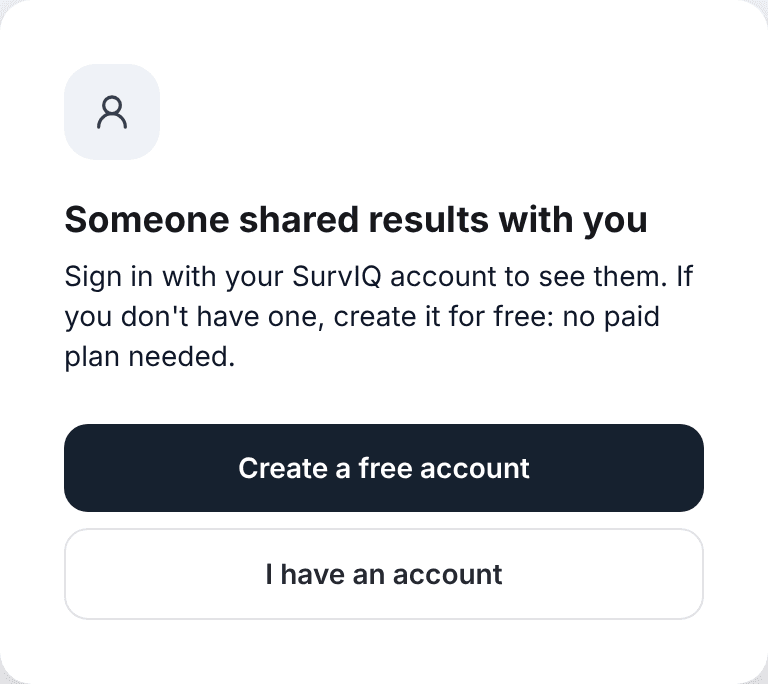
Either way, whoever opens the results needs a SurvIQ account. The account is free and needs no paid plan. That way results don't travel around unchecked, and you can remove access whenever you want.
What a person can do with shared results
- See the Simple mode and, if your plan includes it, the Advanced mode.
- Filter, compare by groups and open responses one by one.
- Download the results (Excel, PDF and the other export formats).
- They can't edit the survey, delete responses, change the saved view or see the Distribution page.
Invite a person by email
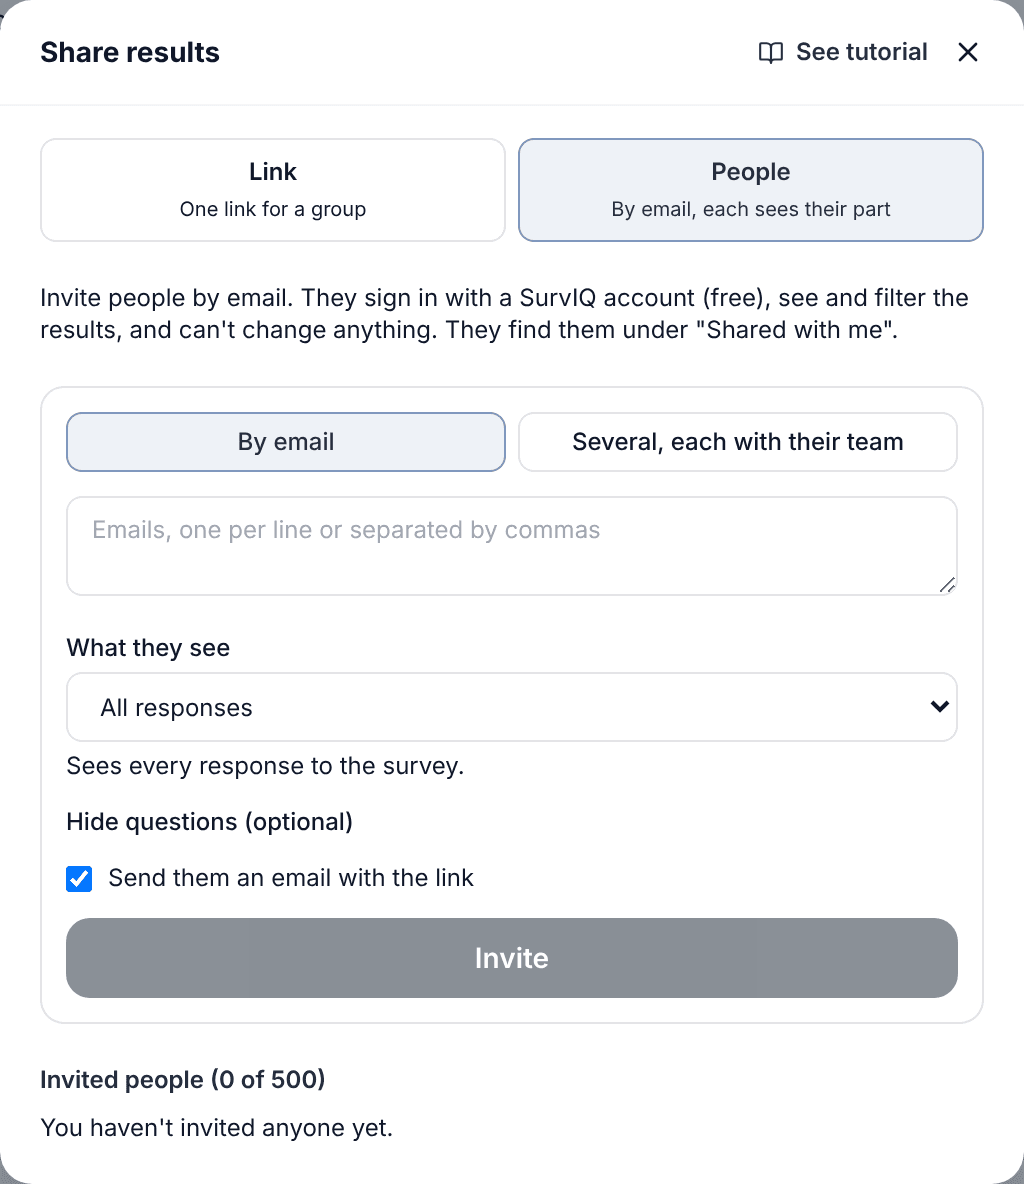
- In Share, open the People tab.
- Keep "By email" selected and type one or more emails (one per line or separated by commas).
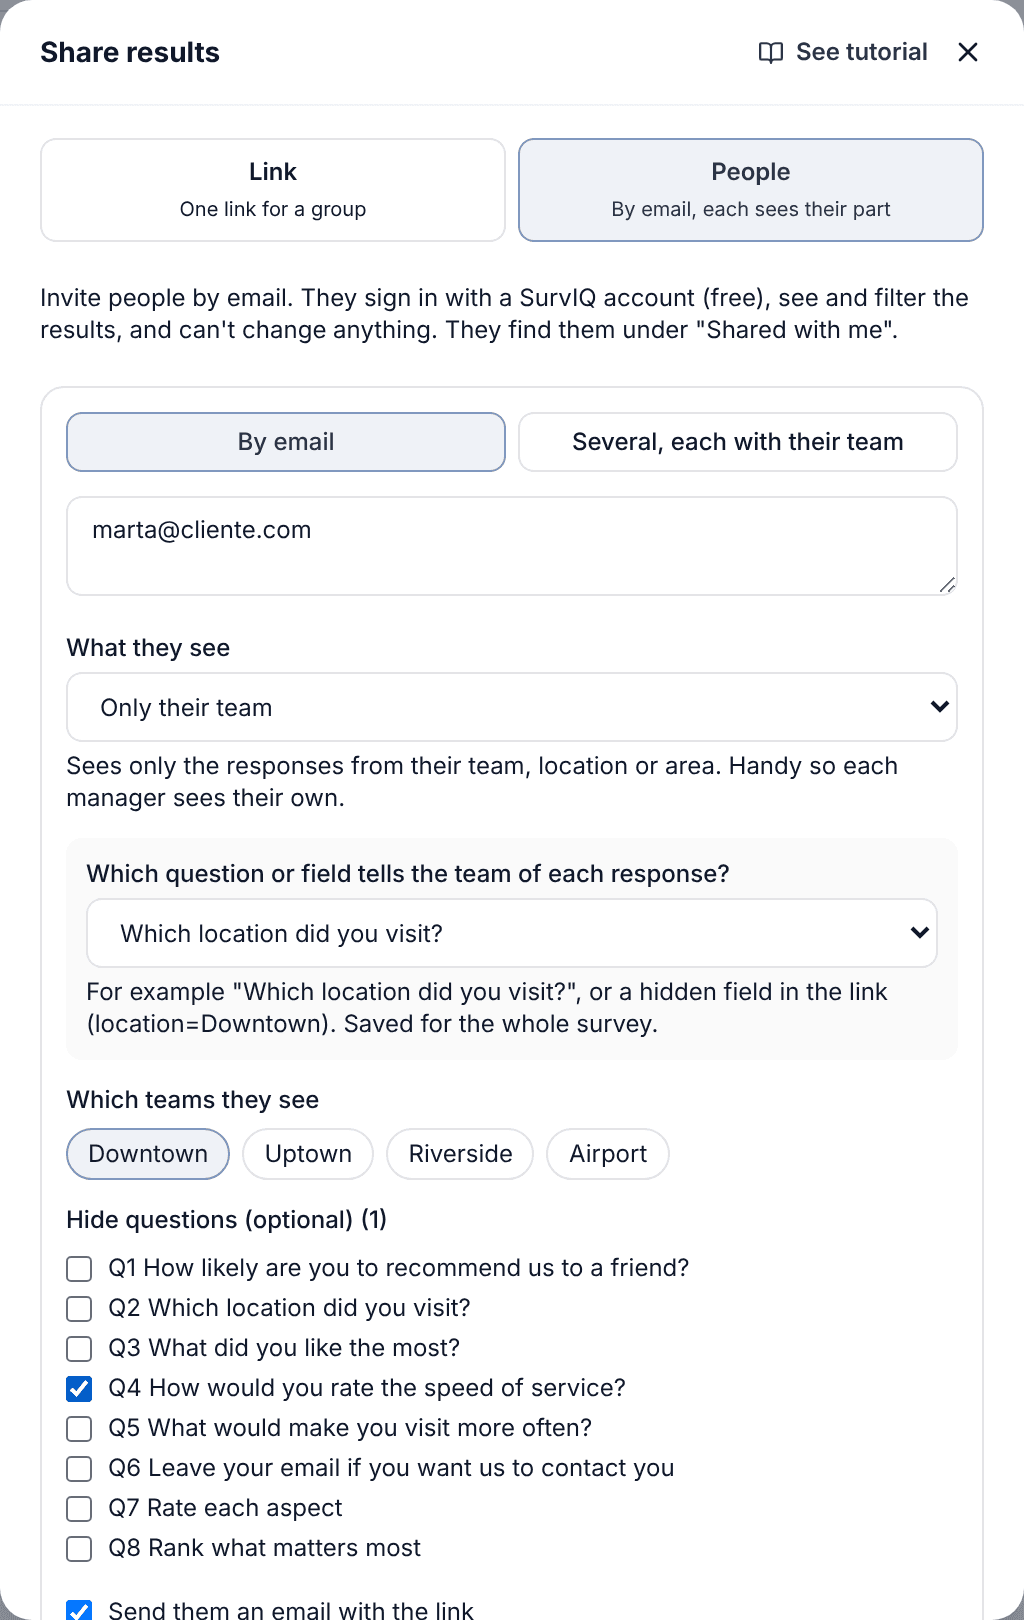
- Under "What they see", choose which responses they will see. All the options are explained below.
- Optionally, open "Hide questions" and tick the ones this person shouldn't see.
- Keep "Send them an email with the link" ticked so they get the invitation.
- Tap Invite. The person shows up in the list below as "not signed in yet" until they open the results.
If you invite an email that is already on the list, it isn't duplicated: what that person sees is updated.
What each person sees
The "What they see" menu has four options. Below the menu there is always a line explaining the chosen option.
All responses
The person sees the same results you do, with every response. This is the usual choice for a partner, a director or a client who ordered the survey.
Only a saved segment
If you saved a segment in the results (for example "New customers" or "Night shift"), you can pick it here. The person sees only those responses and can't remove the filter. To create a segment, use Filter in the results and save the filter with a name.
Only their team
This is the option for each manager, location or department to see only their own part. SurvIQ needs to know which team each response belongs to. When you choose "Only their team", the question "Which question or field tells the team of each response?" shows up. You can pick:
- A single-choice or dropdown question in the survey, for example "Which location did you visit?" or "Which department do you work in?".
- A hidden field in the survey link, for example location=Downtown. Use it when each location has its own link or QR code and you don't want to ask.
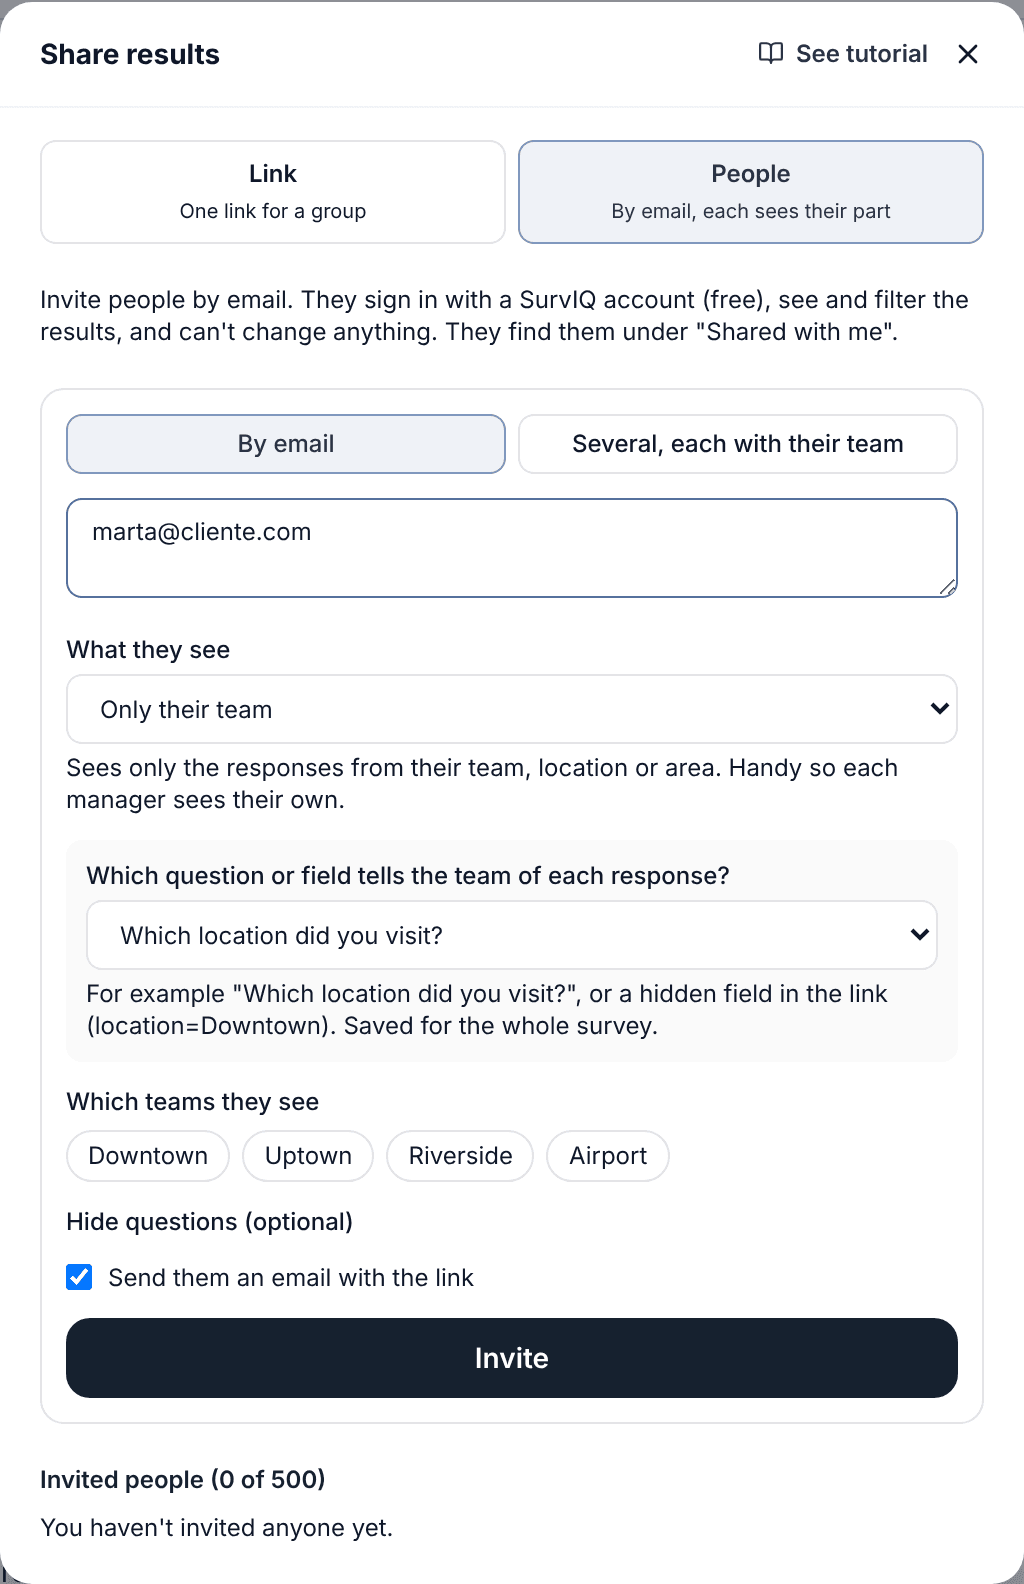
Then tick the teams this person will see. You can tick more than one, for example a regional manager with three locations.
There is one team field per survey. If you change it, people who already had "Only their team" keep the same values, so check the list after changing it.
Only responses with their email
Use it when each manager shares their own link and you want them to see only the responses that came through that link, without setting teams one by one. Each manager's link carries their email in a hidden field. For example:
- surviqapp.com/s/your-survey?manager=ana@company.com for Ana.
- surviqapp.com/s/your-survey?manager=luis@company.com for Luis.
When you choose this option, pick the hidden field that carries the email (manager, in the example). Then invite Ana and Luis with "Only responses with their email": each one sees only the responses whose link carried their email. Upper and lower case don't matter.
A hidden field shows up in the list once the survey has at least one response with that field. If it isn't there yet, share a link with the field and submit one test response.
Hide questions from a person
Under "Hide questions (optional)" you tick the questions that person shouldn't see. For example, the open comments in an employee survey, or a salary question.
- The question disappears from the results, the filters and the response table.
- It isn't in the files they download either (Excel, SPSS, R).
- They can't use it to filter or cross-tab, not even through a computed variable that uses it.
Invite many people at once
If you have many managers or locations, use "Several, each with their team". Write one person per line: their email, a comma and their team, as it appears in the survey.
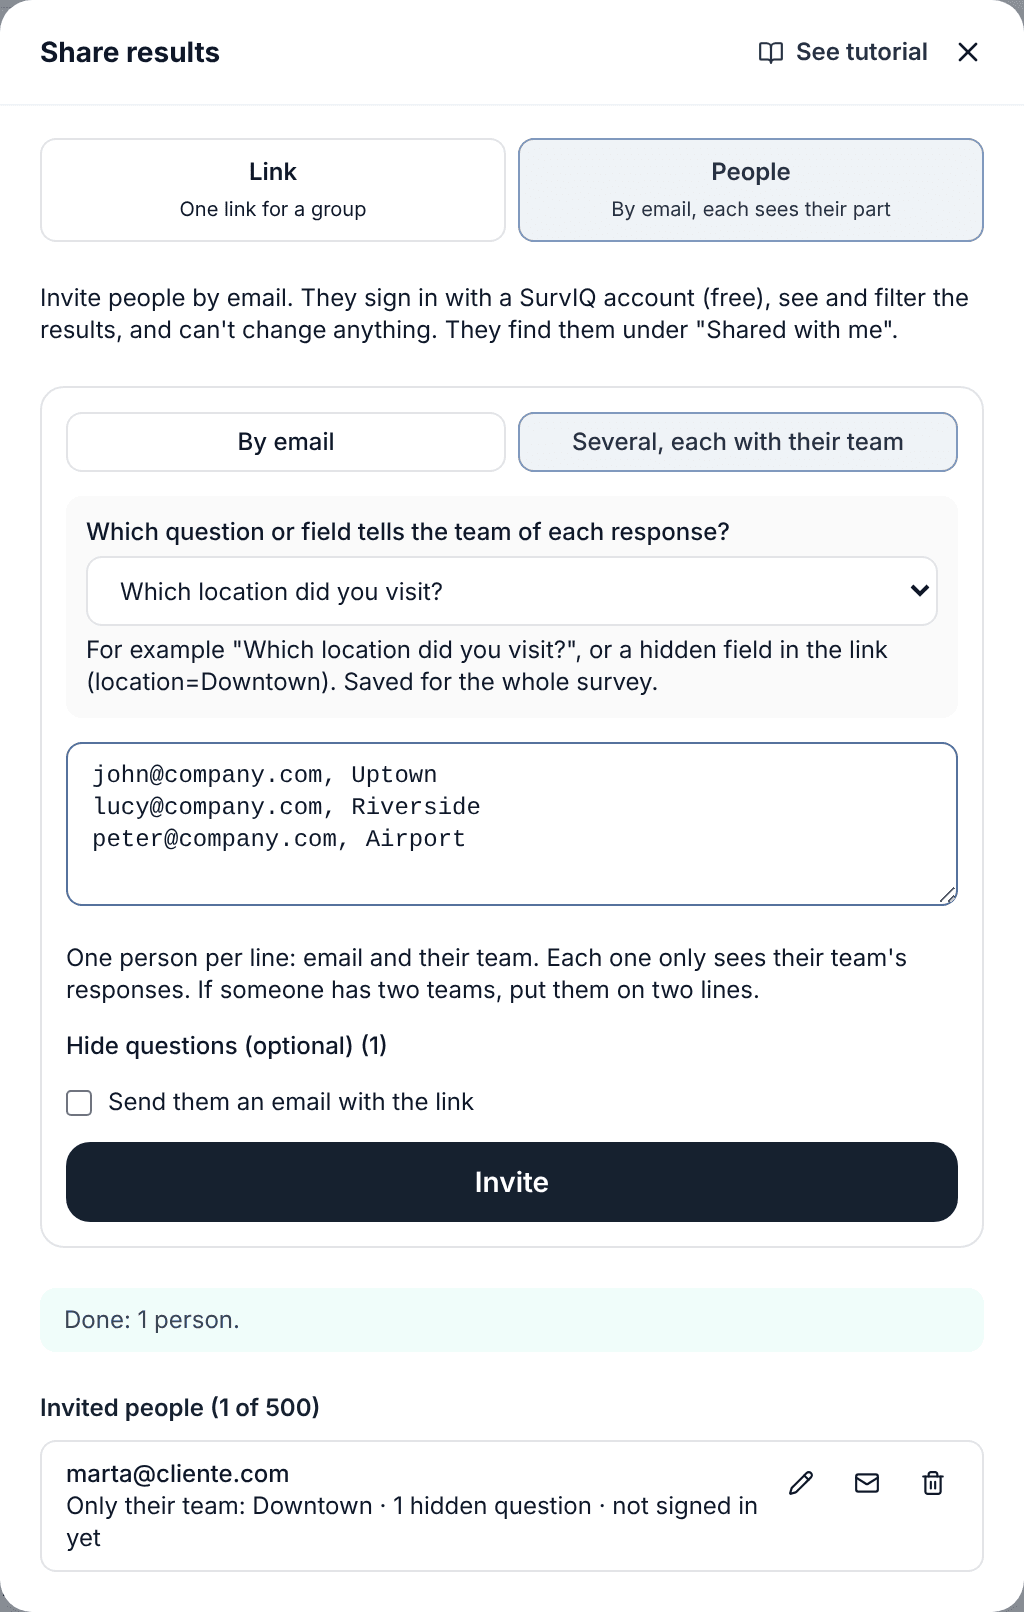
- The team is matched by the option text, ignoring upper and lower case.
- If someone should see two teams, write them on two lines.
- If a team doesn't exist in the survey or an email is misspelled, SurvIQ tells you which ones weren't added; everyone else is added.
- The hidden questions you tick apply to everyone in that batch.
Manage the people list
Below the form is the list of invited people, with what each one sees and whether they have signed in.
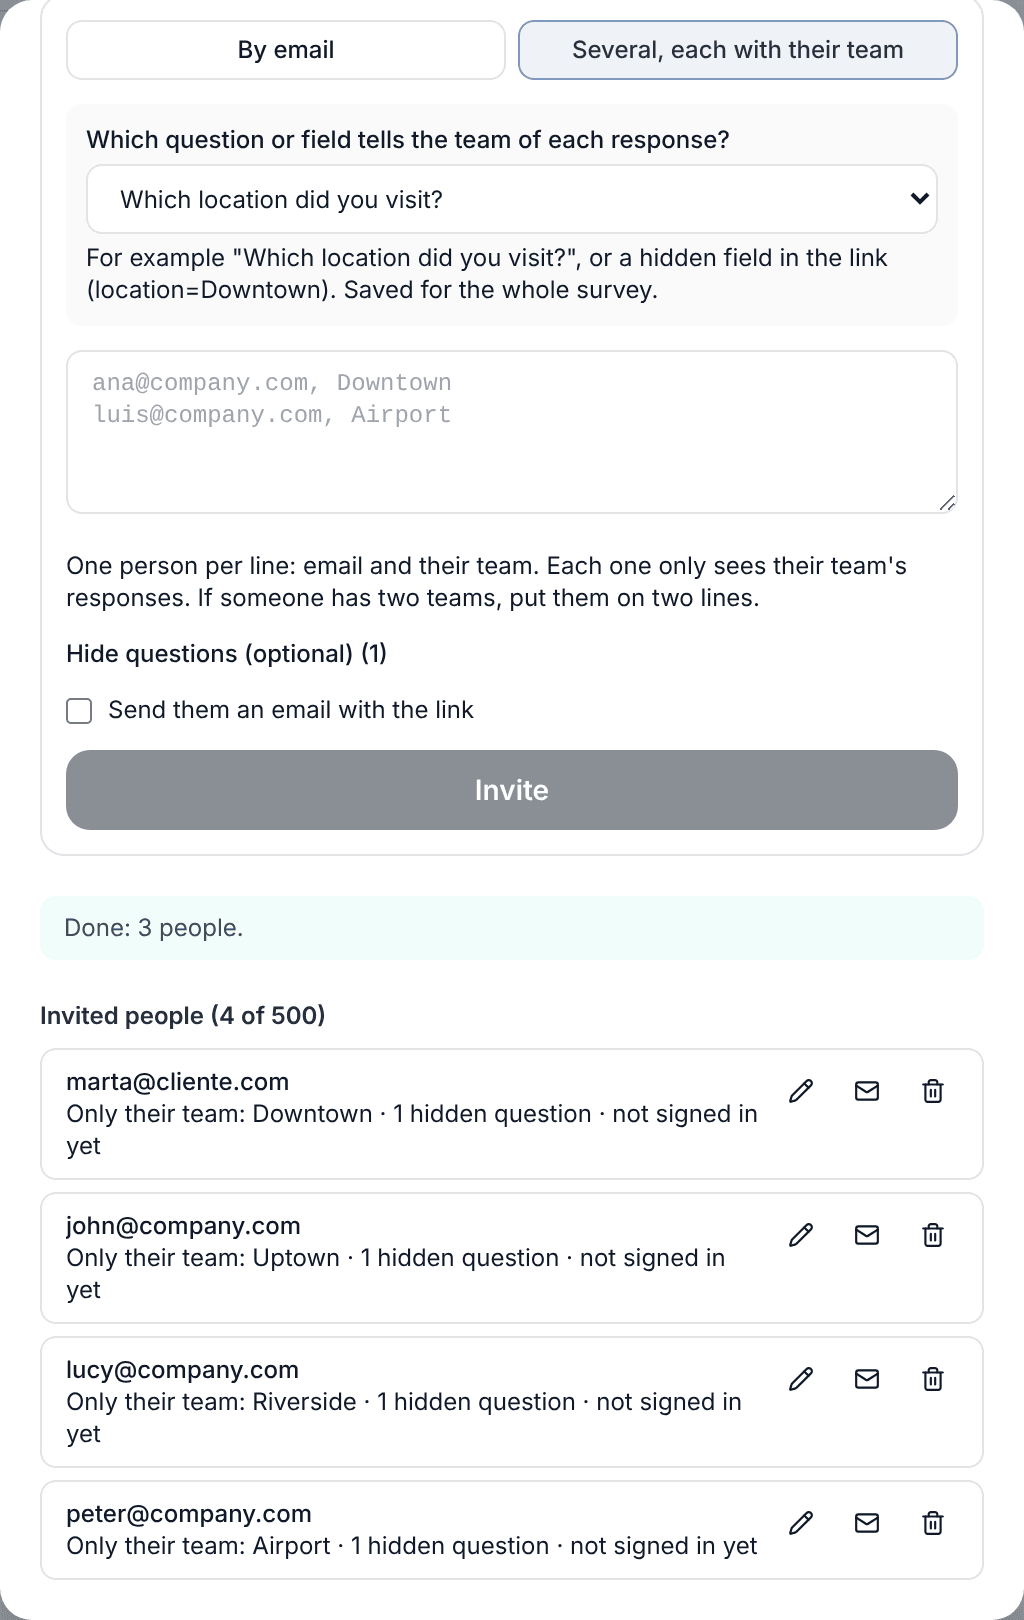
- The pencil changes what that person sees and their hidden questions.
- The envelope resends the invitation email (it only shows if they haven't signed in yet).
- The bin removes access right away. If they had the results open, they lose them on reload.
What the invited person sees
- They get an email from SurvIQ with your name, the survey title and a "See the results" button.
- If they don't have an account, they create one for free with that same email. If they do, they sign in.
- They find the survey under "Shared with me" in the left menu. That menu item only shows for people who have something shared with them.
- When they open it, a note at the top tells them what they see, for example "You only see: Downtown".
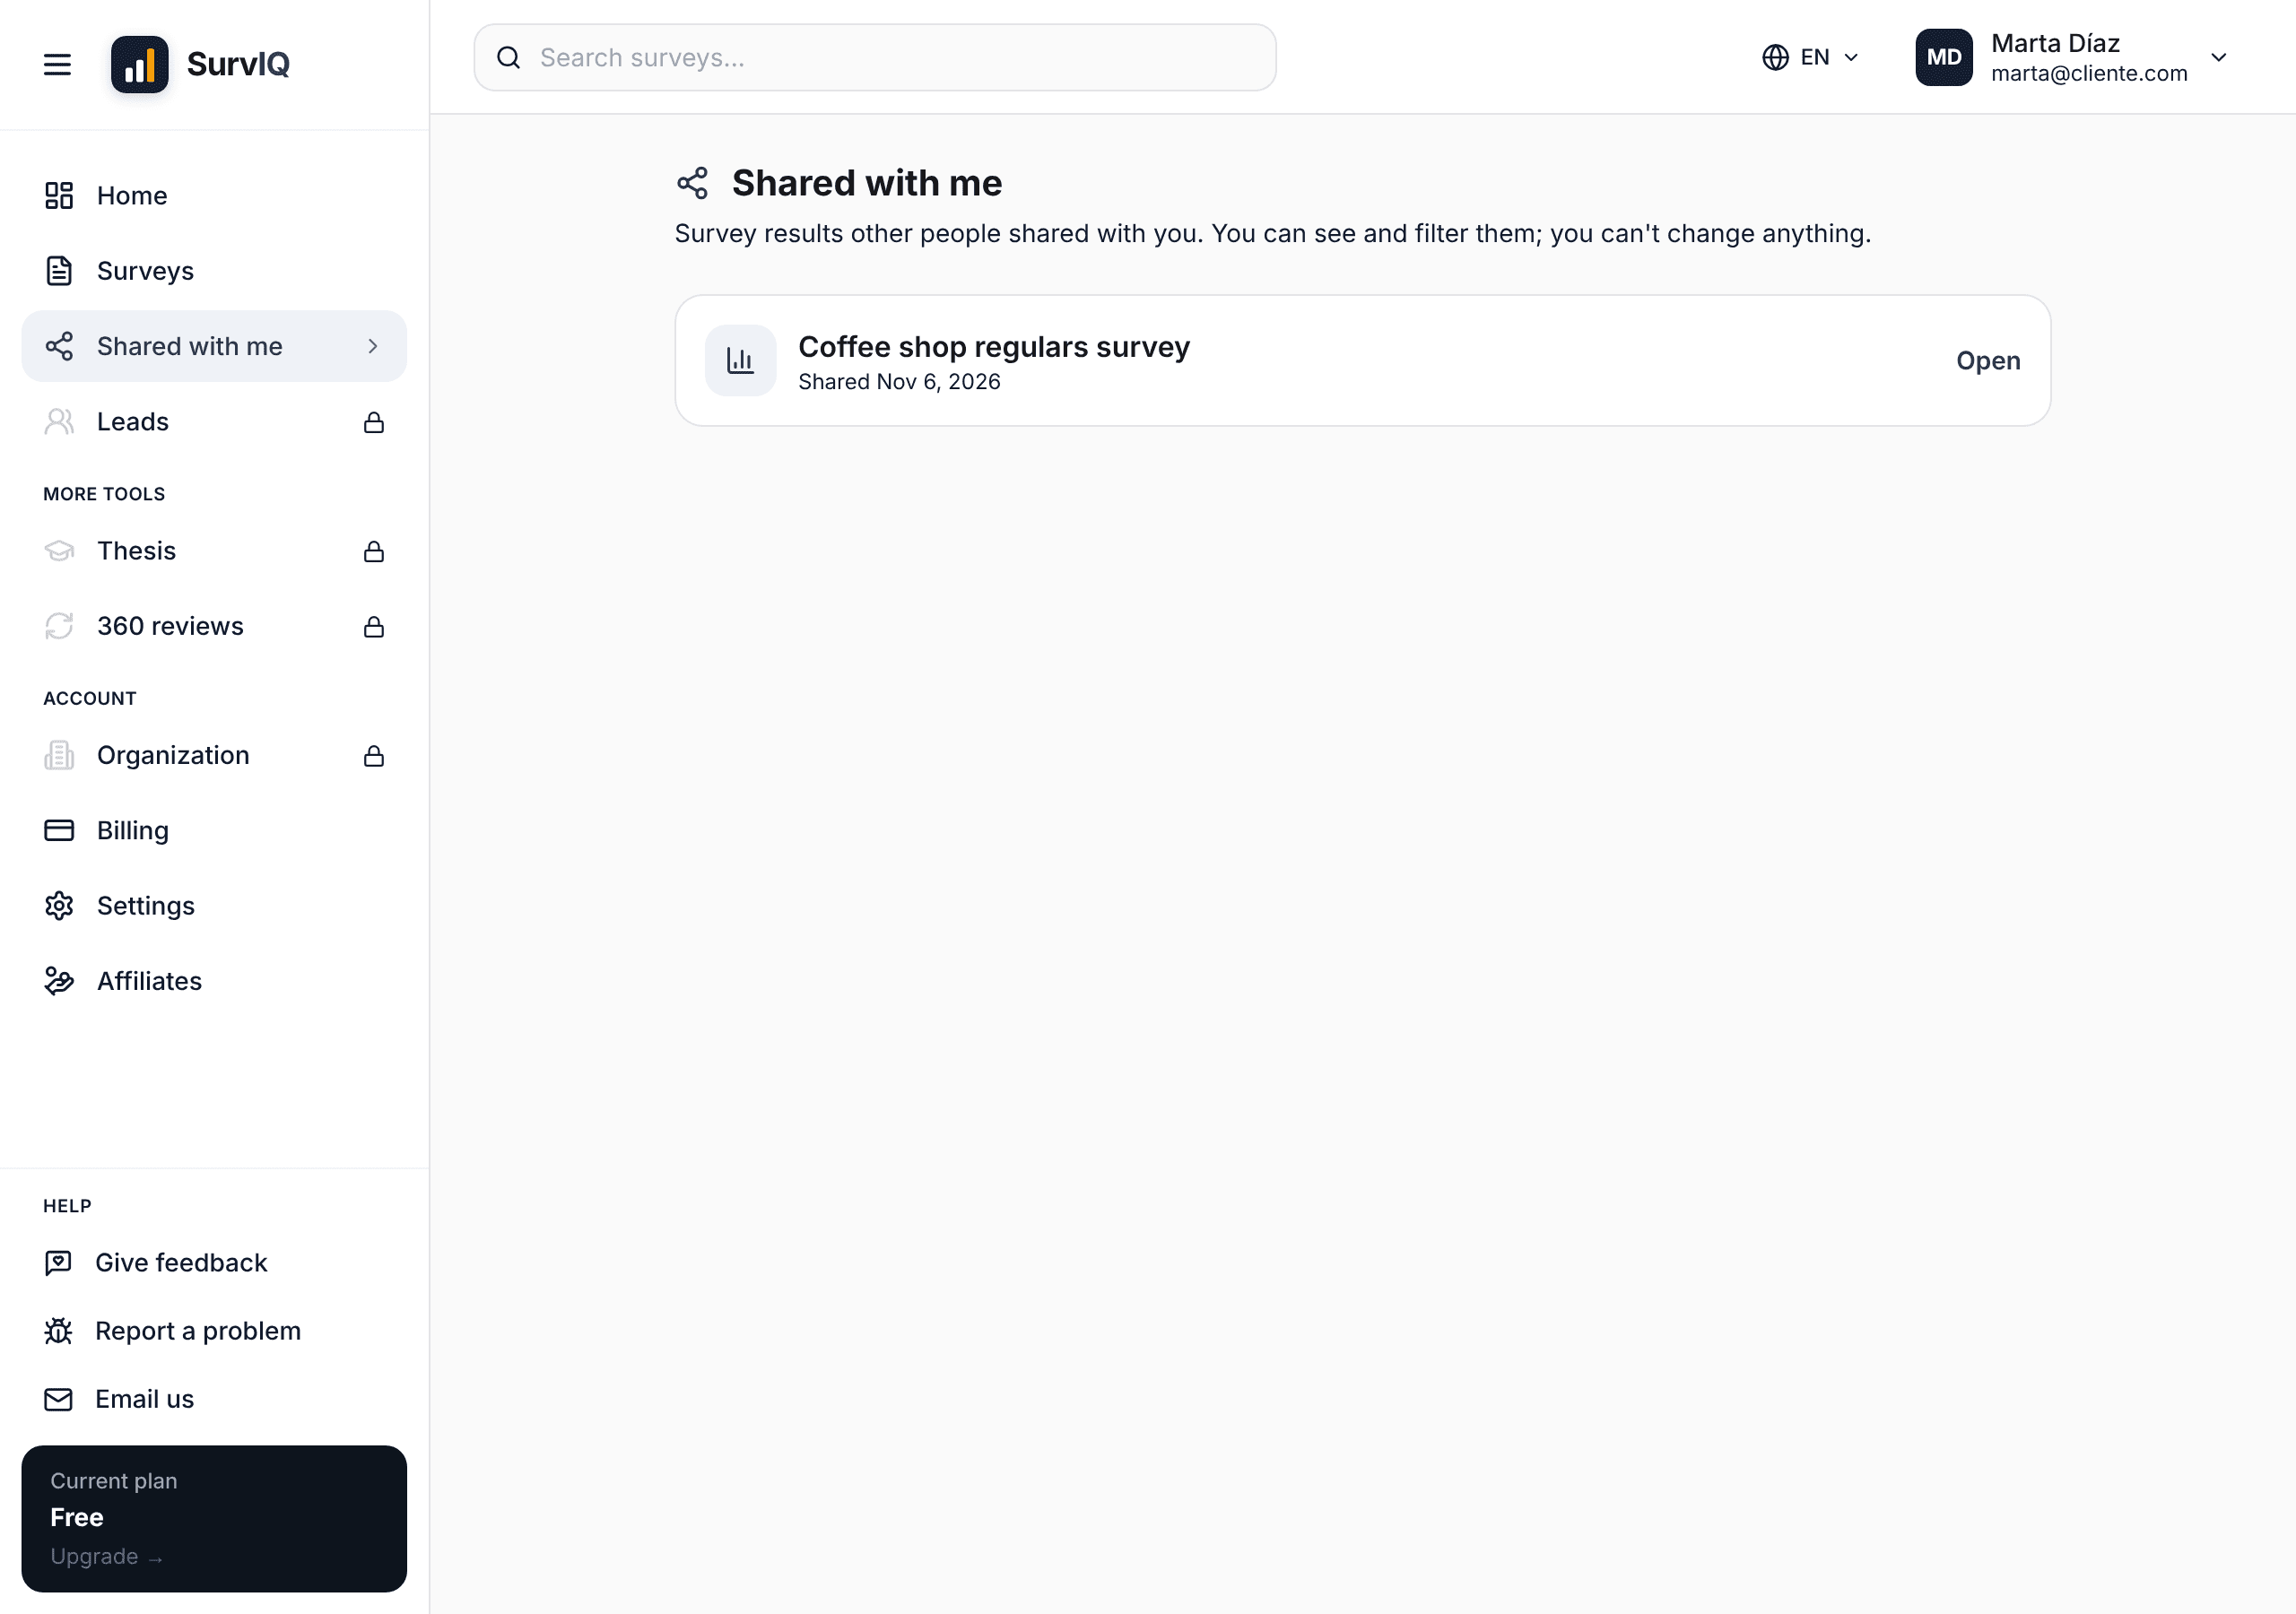
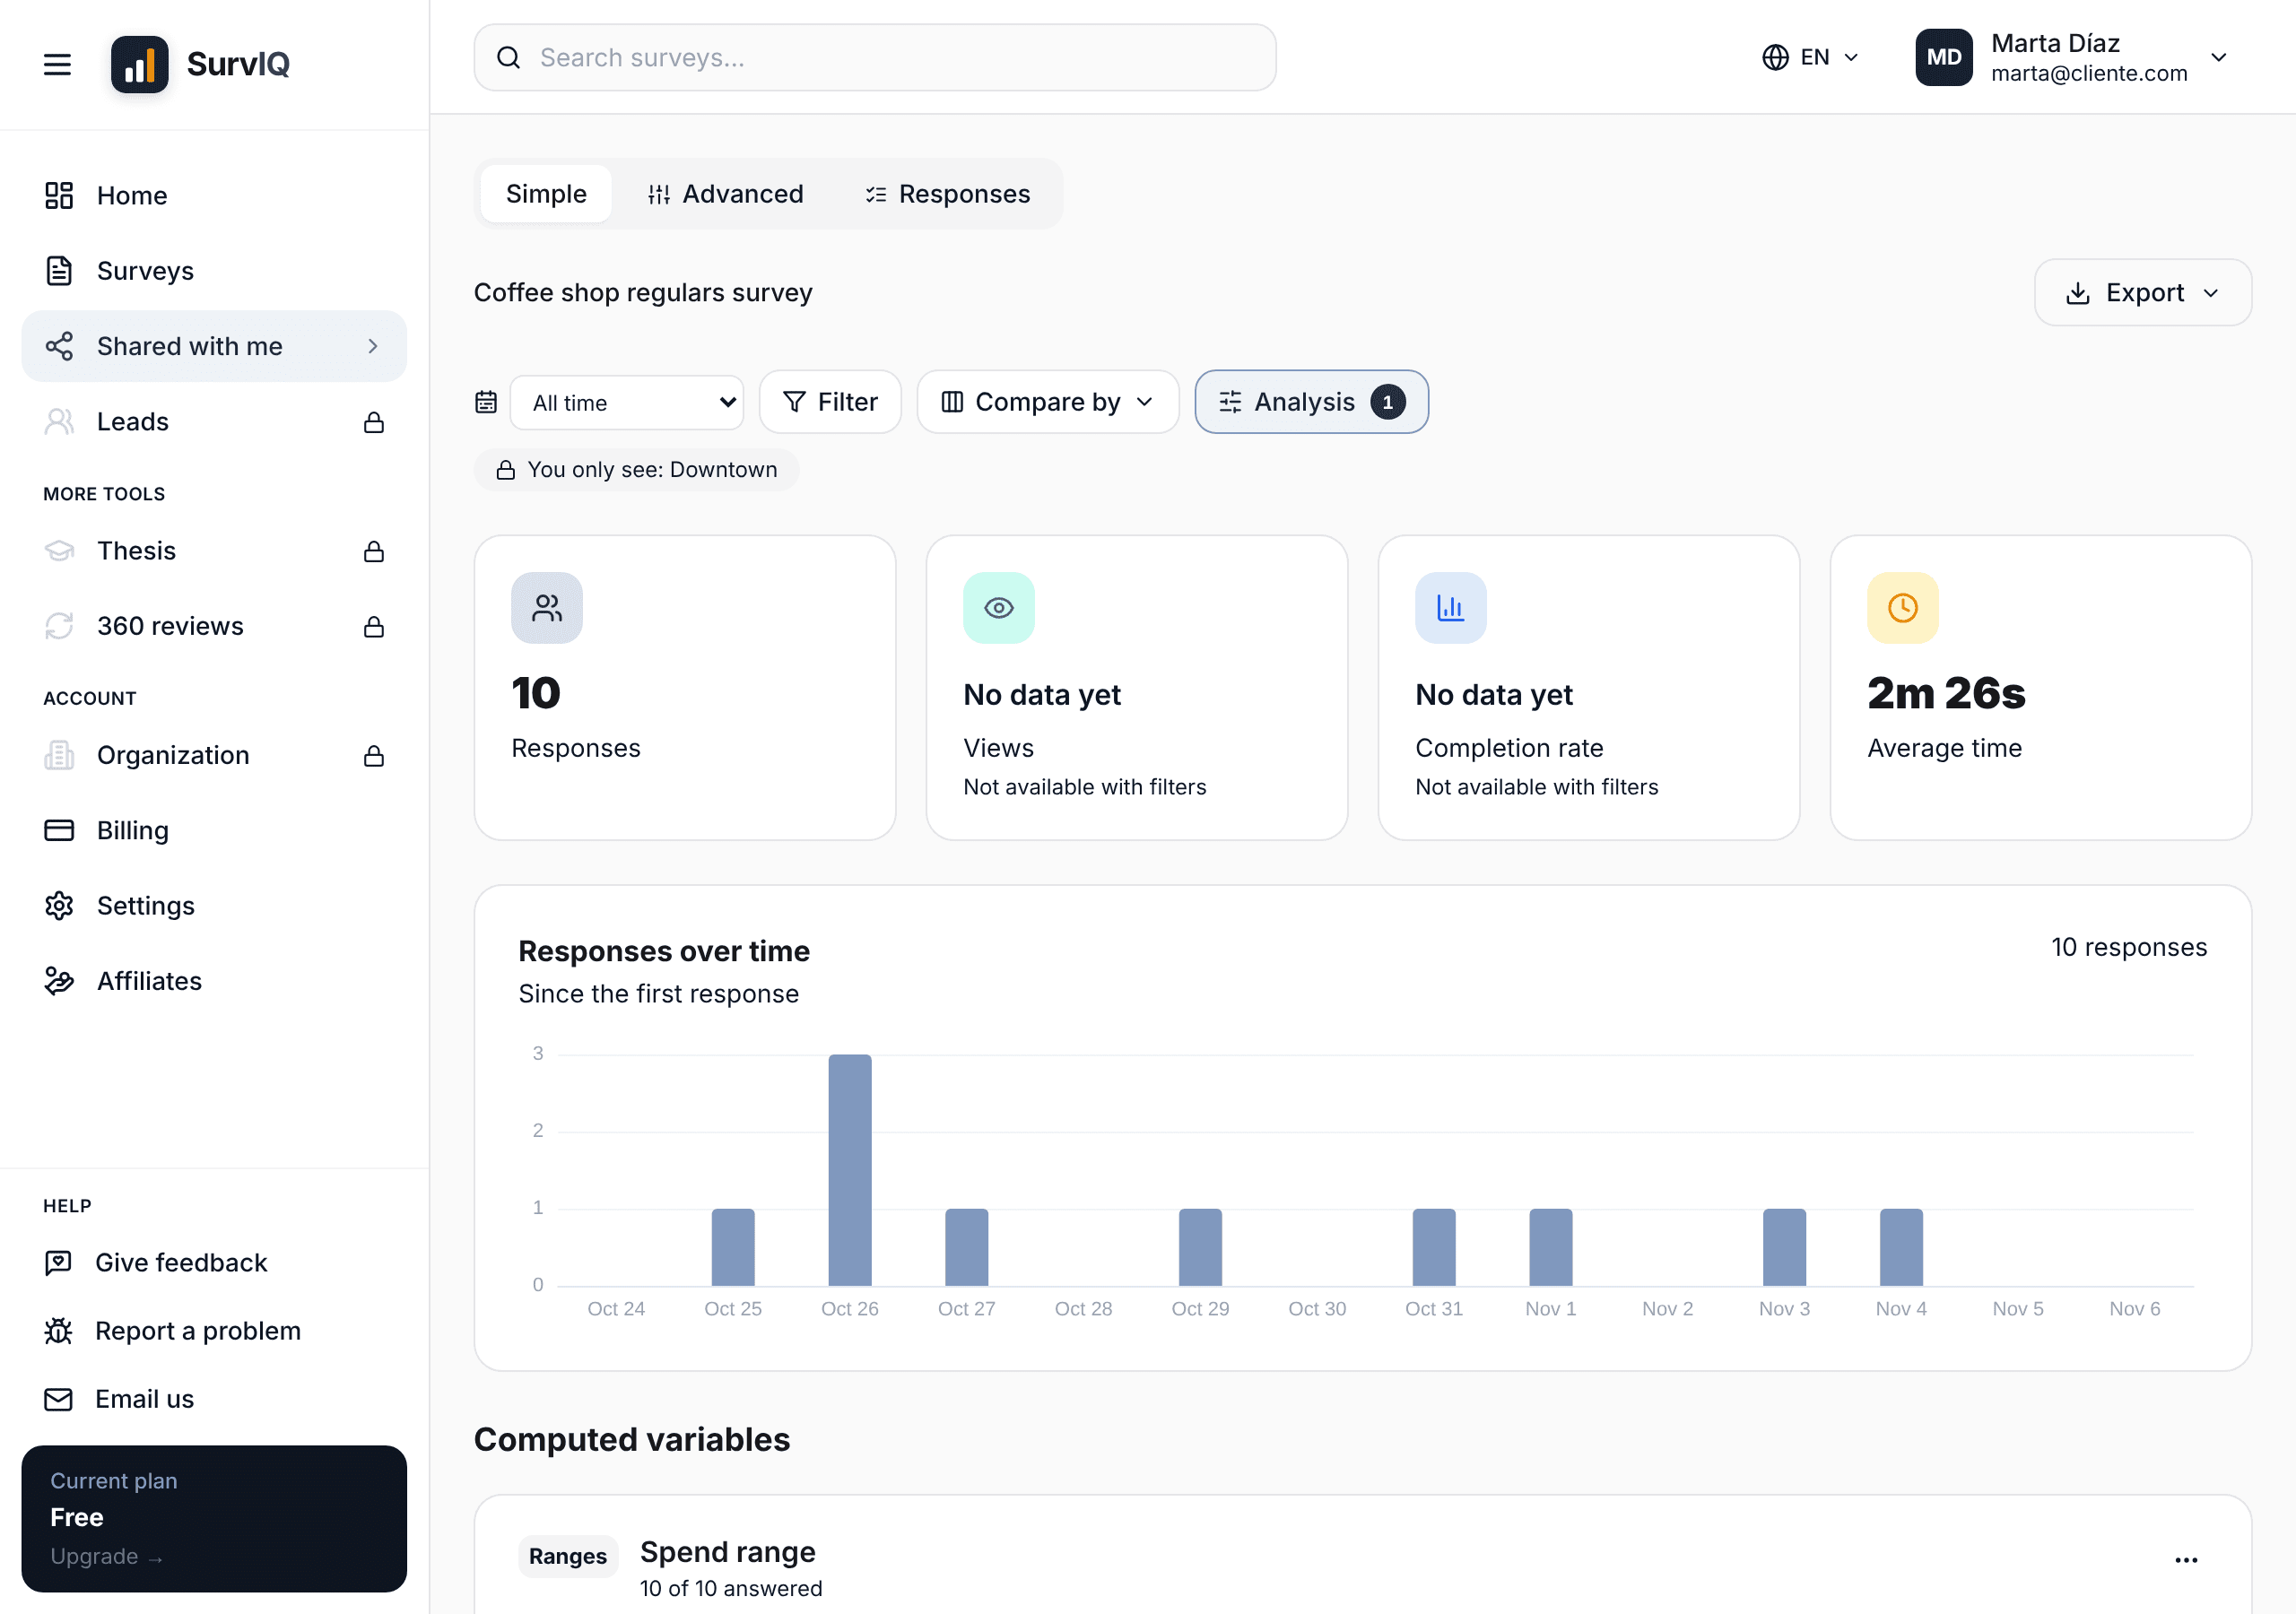
If the person signs in with a different email (for example Google with a personal account), "Shared with me" will be empty. They can open the button in the invitation email while signed in: that account gets linked. That is why you shouldn't forward the invitation email to someone else.
Share with a link
In the Link tab you turn on a read-only link. These are its options:
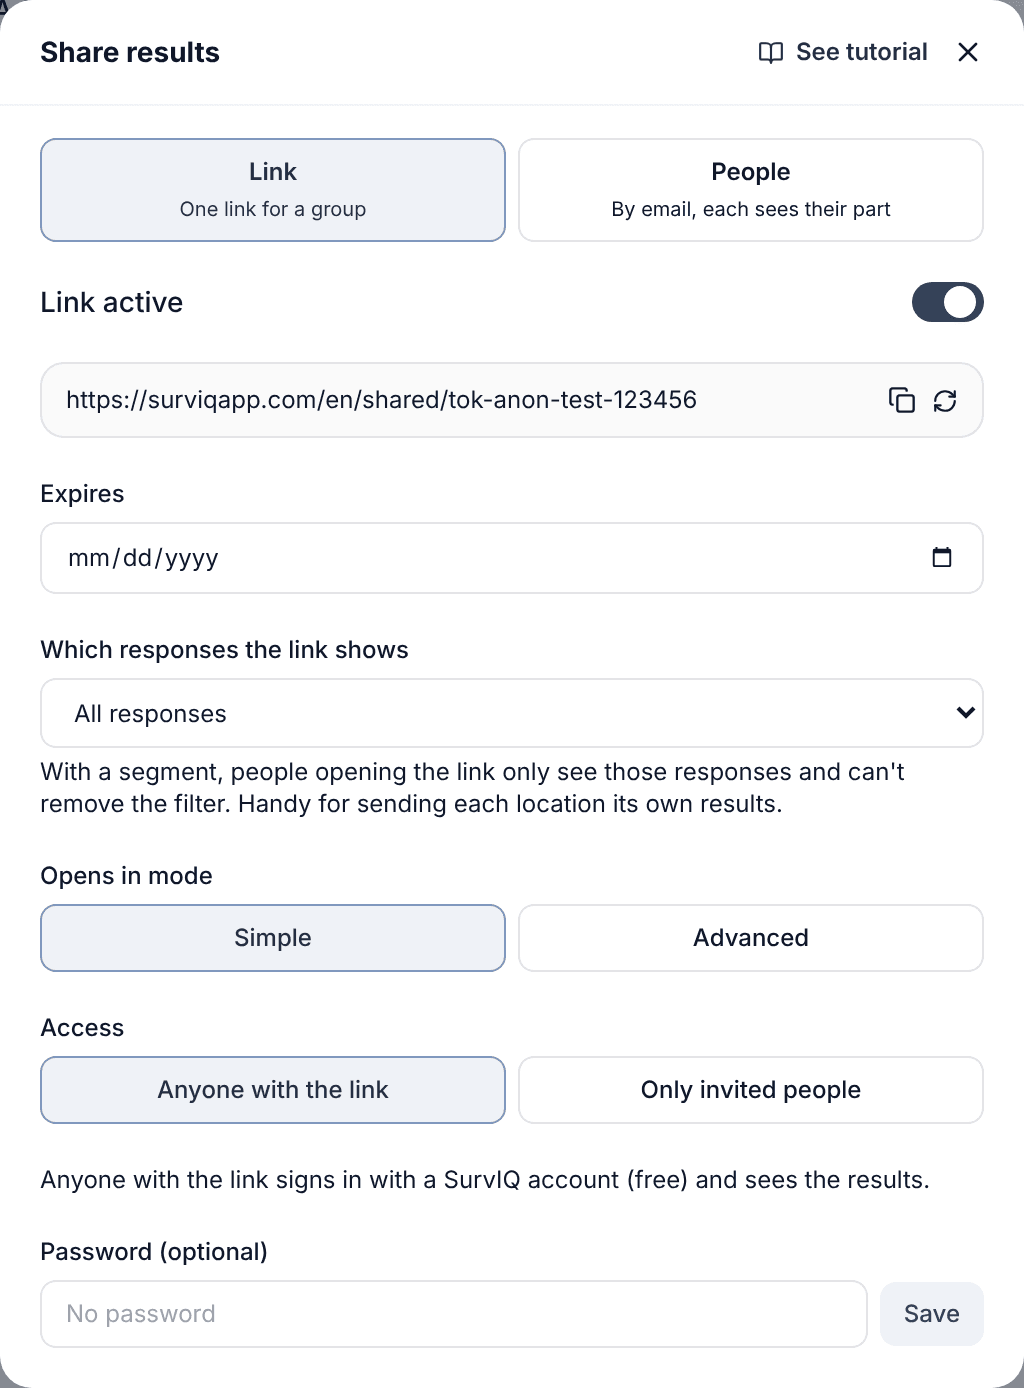
- Access "Anyone with the link": everyone with an account who has the link sees the results.
- Access "Only invited people": the link only opens for people in the People tab, and each one sees what you gave them. Anyone not on the list gets "This link is only for invited people".
- Which responses the link shows: you can lock a saved segment so everyone with the link sees only those responses.
- It opens in Simple or Advanced mode.
- Optional password, asked on top of the account.
- Expiry date: after that day the link stops working.
- Regenerate link: the old link stops working right away. Use it if the link reached the wrong person.
Which plan you need
- The share link is on every plan. Locking a segment on the link starts at Basic.
- Inviting people starts at Basic: up to 10 people who see every response.
- From Pro you choose what each person sees (segment, their team or the responses with their email), hide questions, add several people with their team and invite up to 500 people per survey.
- Invited people pay nothing and don't take seats in your organization.
Frequently asked questions
Who can share a survey?
The owner, and organization members with the editor role or higher on that survey.
Can invited people see my other surveys?
No. They only see the surveys you shared with them, with what you gave them in each one.
How is this different from adding someone to my organization?
An organization member works on surveys (depending on their role) and takes a seat. An invited person only sees results, never edits and takes no seat.
What happened to the link's "Restricted list"?
It is now the People tab. The emails you had on the list were copied as people who see every response. Codes that weren't emails no longer work, because each person now signs in with their account.
Can I see who opened it?
Yes. In the people list, each person shows "signed in" or "not signed in yet".